10/03/2025
It’s time for the big people! So as not to be creepy and go around taking close-ups of strangers, the reference photo that I used for this exercise was of myself. Going back to my research, there were a few guidelines that I have learned for drawing people close-up that I used to get through this drawing.
Body proportions: the dot method
Following the same 3/3 rule as I did for the small and medium sized people, I used six dots on the photo to guide me on where the shoulders, hips, and ankles are.
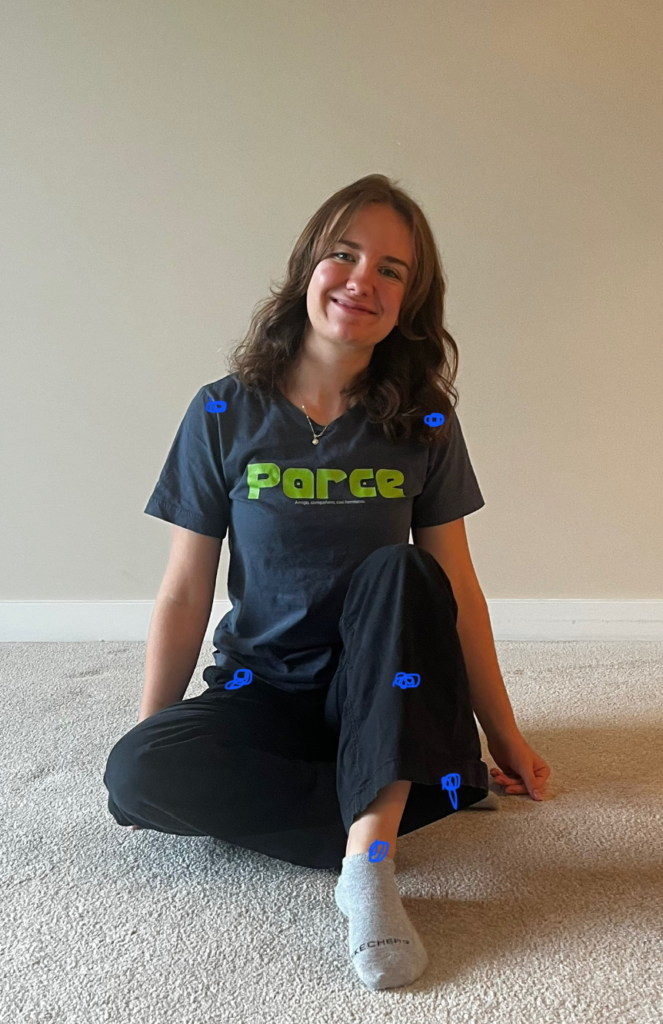
Figure 1
Photograph of model
Note. Photograph taken by J. Kohlman (2025) with an iPhone. https://janesblog.opened.ca/ CC BY-NC 4.0
From there, I sketched out a rough outline of my model’s (me) form.
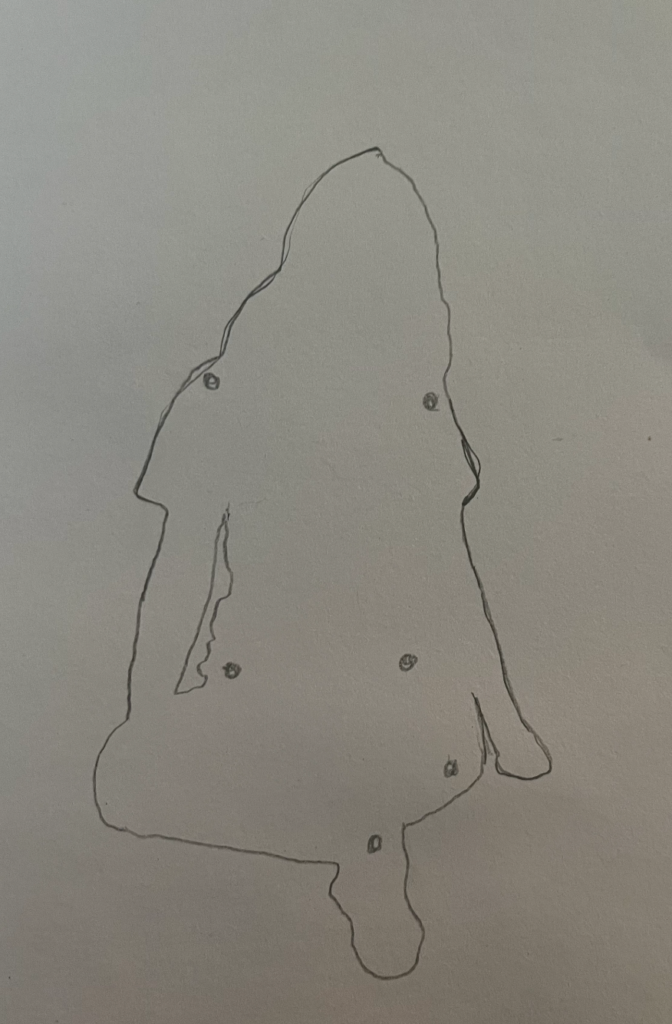
Figure 2
Photograph of model
Note. Pencil illustration titled Rough outline of model by J. Kohlman (2025). https://janesblog.opened.ca/ CC BY-NC 4.0
Going in after and adding more detail, including shoes, hands, and clothes.
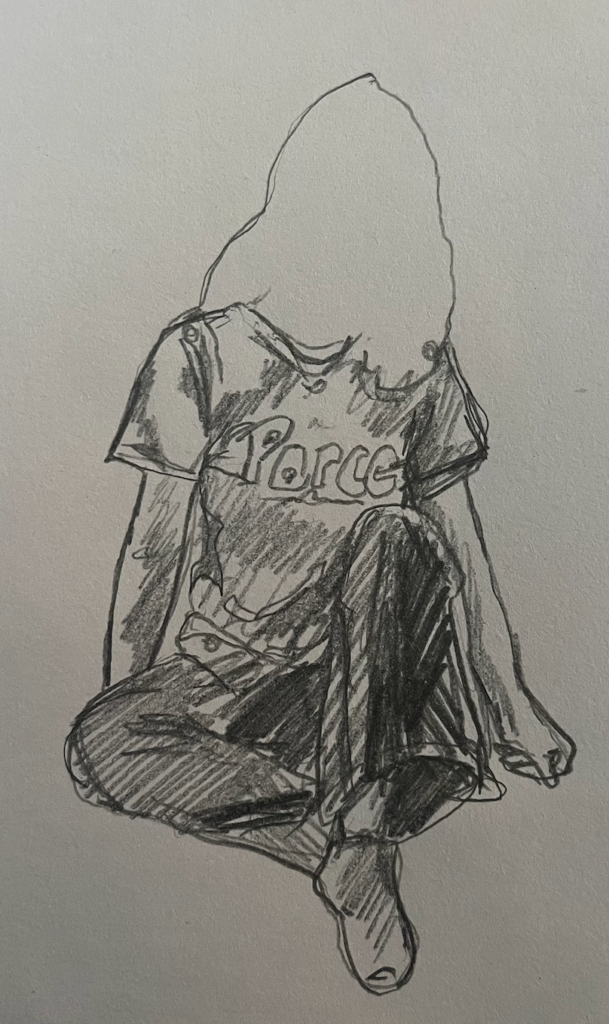
Figure 3
Adding detail with pencil
Note. Pencil sketch by J. Kohlman (2025). https://janesblog.opened.ca/ CC BY-NC 4.0
Because this is meant to be a sketch and not a realistic drawing, I tried not to get too caught up in worrying about accuracy and detail, but instead focused on getting the idea of the figure down on paper. I had to keep reminding myself that the drawing was meant to be recognizable, but not a copy. Every time I made a line or a mark that I worried looked bad or wrong, I would tell myself that it added character. I left the face for last.
The face: ⅓ rule
For the face, I followed the guide explained in one of the youtube videos I watched (linked below). Starting with the rough outline I had already made before, I then went on to add a line to separate the face from the hair.
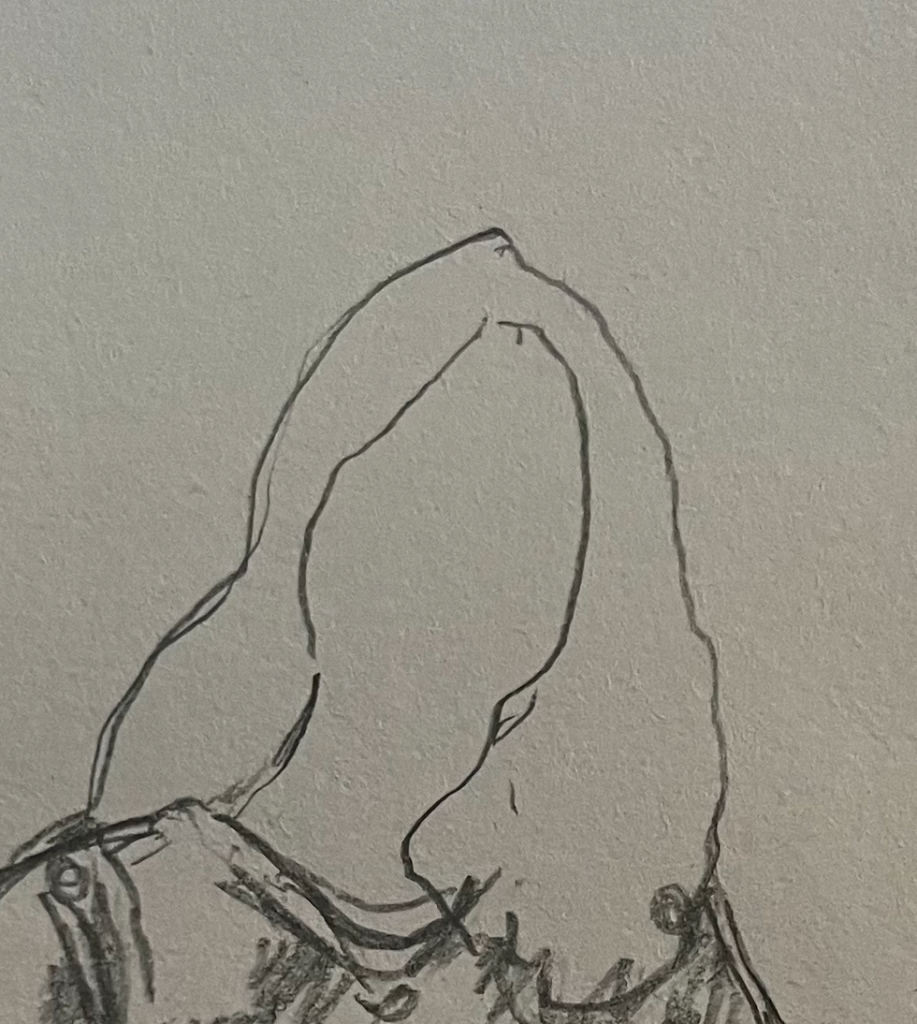
Figure 4
Outlining the face in pencil
Note. Pencil sketch by J. Kohlman (2025). https://janesblog.opened.ca/ CC BY-NC 4.0
After that, I drew in three faint lines marking where the 3rds of the face are.

Figure 5
The Rule of Thirds
Note. Pencil sketch by J. Kohlman (2025). https://janesblog.opened.ca/ CC BY-NC 4.0
In the first third, I added the eyes and eyebrows. Again, I was trying to focus on getting the general shapes and ideas down on paper, and not worrying about how realistic the drawing was. It was hard not to worry.
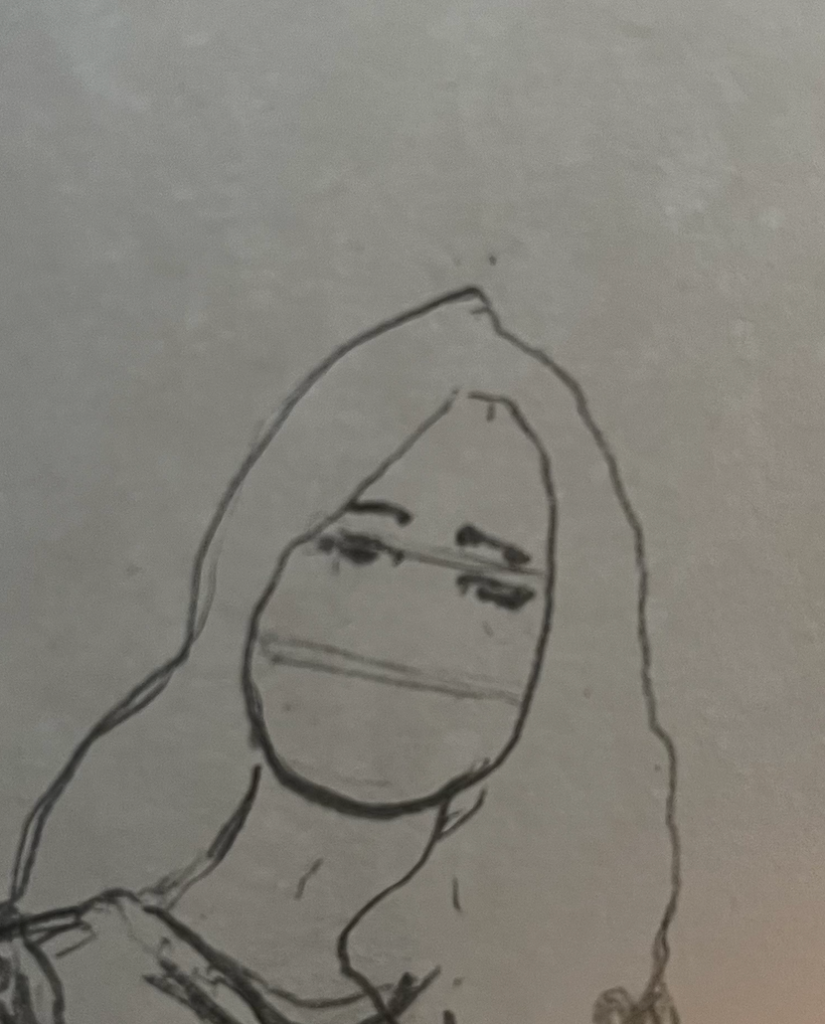
Figure 6
Adding the eyes
Note. Pencil sketch by J. Kohlman (2025). https://janesblog.opened.ca/ CC BY-NC 4.0
In the second third, I added the nose. Or, rather, the idea of the nose. Character, right?
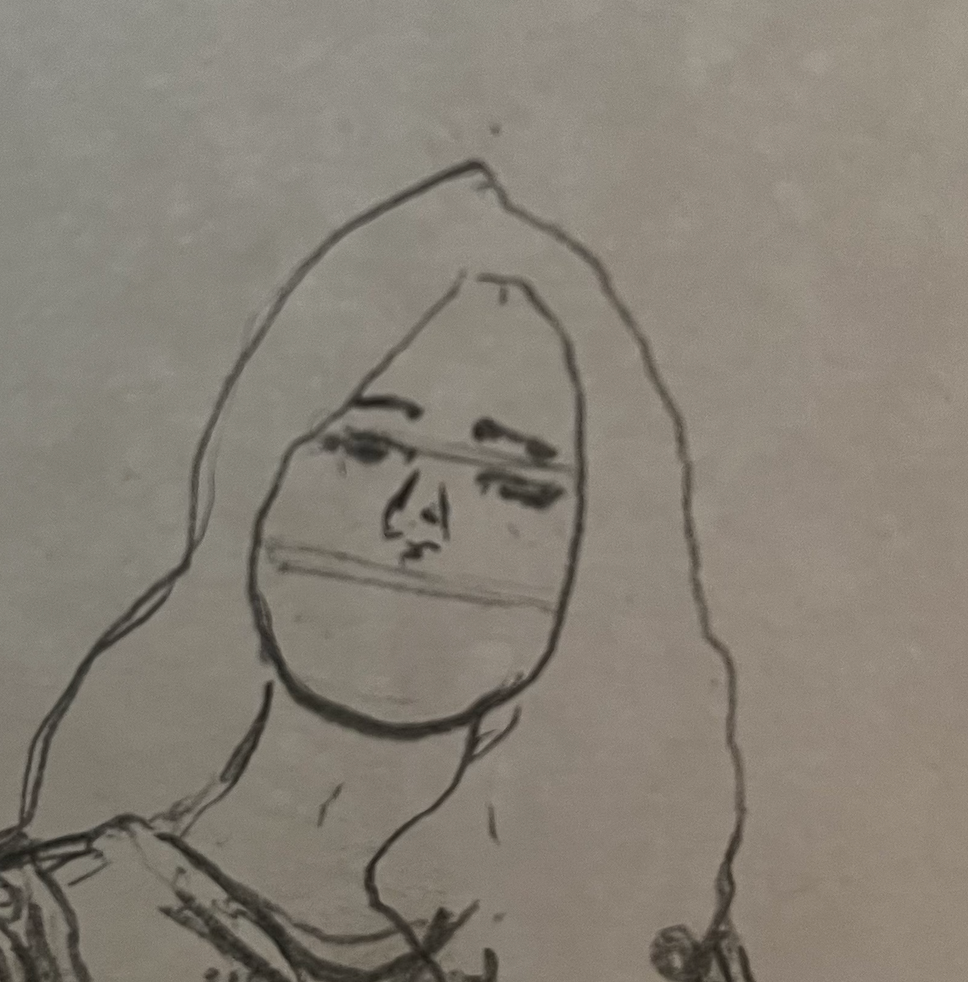
Figure 7
Adding the nose
Note. Pencil sketch by J. Kohlman (2025). https://janesblog.opened.ca/ CC BY-NC 4.0
In the third and final third, I added a few marks to hint at a mouth. And the drawing was complete!
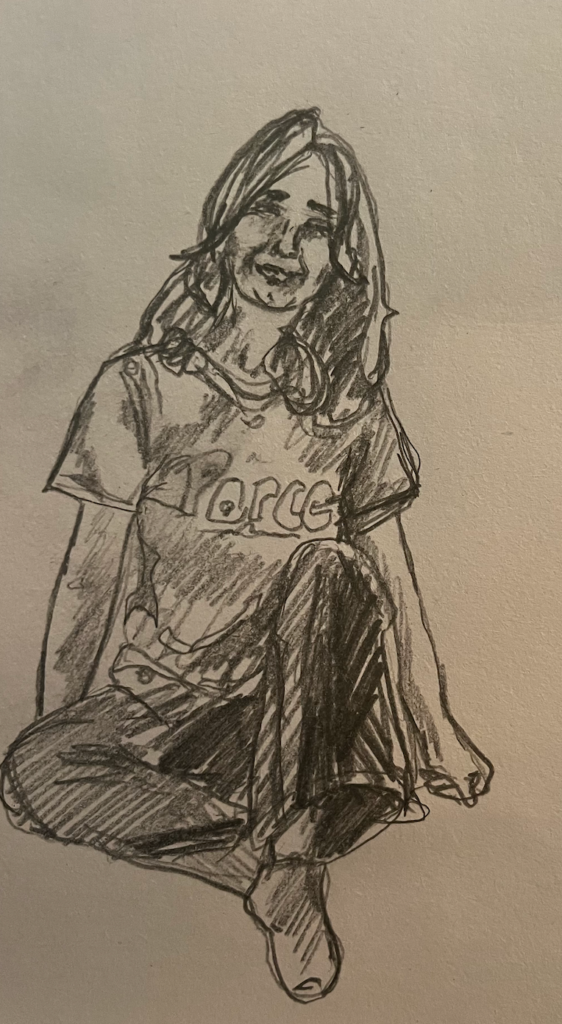
Figure 8
A hint at the mouth
Note. Pencil sketch by J. Kohlman (2025). https://janesblog.opened.ca/ CC BY-NC 4.0
By no means does the drawing look like a mirror image of me, but it is a recognizable drawing of a girl. The proportions aren’t perfect, but also aren’t off enough that it distracts from the focus of the piece. Now that I feel I can get at least the general idea of people and buildings down on paper, it’s time to tackle all the other odd objects next!
Helpful videos:
Figure 9
How to draw a face in 7 steps
Note. Video by Sketching Scottie (2022). YouTube. https://www.youtube.com/watch?v=xyzH-xbPcII
Figure 10
How to sketch PEOPLE quickly & accurately!
Note. Video by Sketching Scottie (2023). YouTube. https://www.youtube.com/watch?v=uUOs-GrTI3Ec
Sorry, but comments are not enabled on this site.